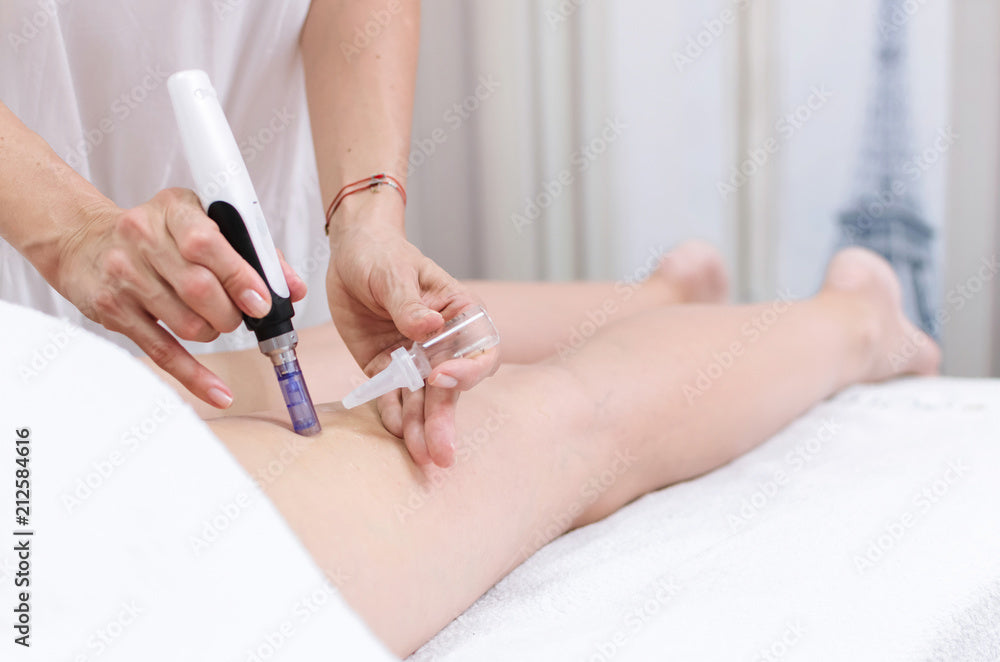
Microneedling, also known as collagen induction therapy, is a minimally invasive cosmetic procedure that involves using a device with fine needles to create tiny punctures in the skin. These controlled micro-injuries stimulate the body's natural healing process, resulting in the production of collagen and elastin, which are essential for healthy, youthful-looking skin. If you're interested in learning how to perform microneedling, this blog post will guide you through the process step by step.
What are the benefits of microneedling?
Microneedling offers a wide range of benefits for the skin. It can help improve the appearance of acne scars, fine lines and wrinkles, hyperpigmentation, and stretch marks. Additionally, microneedling can enhance the absorption of skincare products, making them more effective. It also promotes overall skin rejuvenation, resulting in a smoother, firmer, and more radiant complexion.
Step 1: Prepare the skin
Before starting the microneedling procedure, it's crucial to prepare the skin properly. Begin by cleansing the face with a gentle cleanser to remove any dirt, oil, or makeup. Follow this with a toner to balance the skin's pH levels. Finally, apply a numbing cream to minimize any discomfort during the procedure. Allow the numbing cream to sit for about 20-30 minutes before proceeding to the next step.
Step 2: Choose the right microneedling device
There are various microneedling devices available on the market, ranging from derma rollers to derma pens. It's essential to choose a device that suits your needs and preferences. Derma rollers consist of a cylindrical roller with multiple fine needles, while derma pens have a motorized tip that rapidly punctures the skin. Consider factors such as needle length, ease of use, and safety features when selecting a microneedling device.
Step 3: Start the microneedling process
Once the skin is prepared, it's time to begin the microneedling process. Hold the microneedling device at a 90-degree angle to the skin and gently roll or glide it over the treatment area. Start with vertical movements, followed by horizontal and diagonal movements to ensure even coverage. Apply light pressure to avoid causing excessive discomfort or damage to the skin. Remember to be extra cautious around sensitive areas such as the eyes and lips.
Step 4: Post-treatment care
After completing the microneedling procedure, it's crucial to provide proper post-treatment care to optimize results and minimize potential side effects. Apply a soothing serum or a hyaluronic acid-based product to hydrate and calm the skin. Avoid using harsh skincare products, exfoliants, or makeup for at least 24 hours. Protect your skin from the sun by applying a broad-spectrum sunscreen with a high SPF. It's normal to experience some redness and mild swelling immediately after microneedling, but these symptoms should subside within a few days.
Repeat the microneedling procedure every 4-6 weeks for optimal results. However, it's important to consult with a skincare professional or dermatologist before incorporating microneedling into your skincare routine, especially if you have any underlying skin conditions or are taking certain medications.
In conclusion, microneedling is a highly effective procedure for improving skin texture, reducing the appearance of scars and wrinkles, and promoting overall skin rejuvenation. By following the steps outlined in this blog post, you can safely and effectively perform microneedling at home. Remember to prioritize skin preparation, choose the right microneedling device, perform the procedure with care, and provide proper post-treatment care for the best results. Happy microneedling!

